
Most small outdoor kitchen guides give you the same five photos of a built-in grill against a stone wall. The real question isn’t “what does it look like” — it’s “what fits my yard and my budget without turning into an unfinished project.” This guide starts with your budget tier, then matches it to a realistic layout, so you’re not designing around a Pinterest board that assumes a much bigger patio than you have.
First, Figure Out Your Budget Tier
Tier 1: Under $1,000 — The Rearranged Setup
What you get: A quality freestanding or cart-style grill, a rolling stainless prep cart, and a couple of wall-mounted shelves or a slatted storage bench for tools and serving pieces. Best for: Renters, anyone testing whether they’ll actually use an outdoor cooking space before committing further, small balconies or patios under roughly 80 square feet. Watch out for: Wind exposure — freestanding carts aren’t anchored, so in an open, breezy yard you’ll want weighted wheels or a spot with some natural windbreak.
Tier 2: $1,000–$6,000 — The Semi-Built Layout
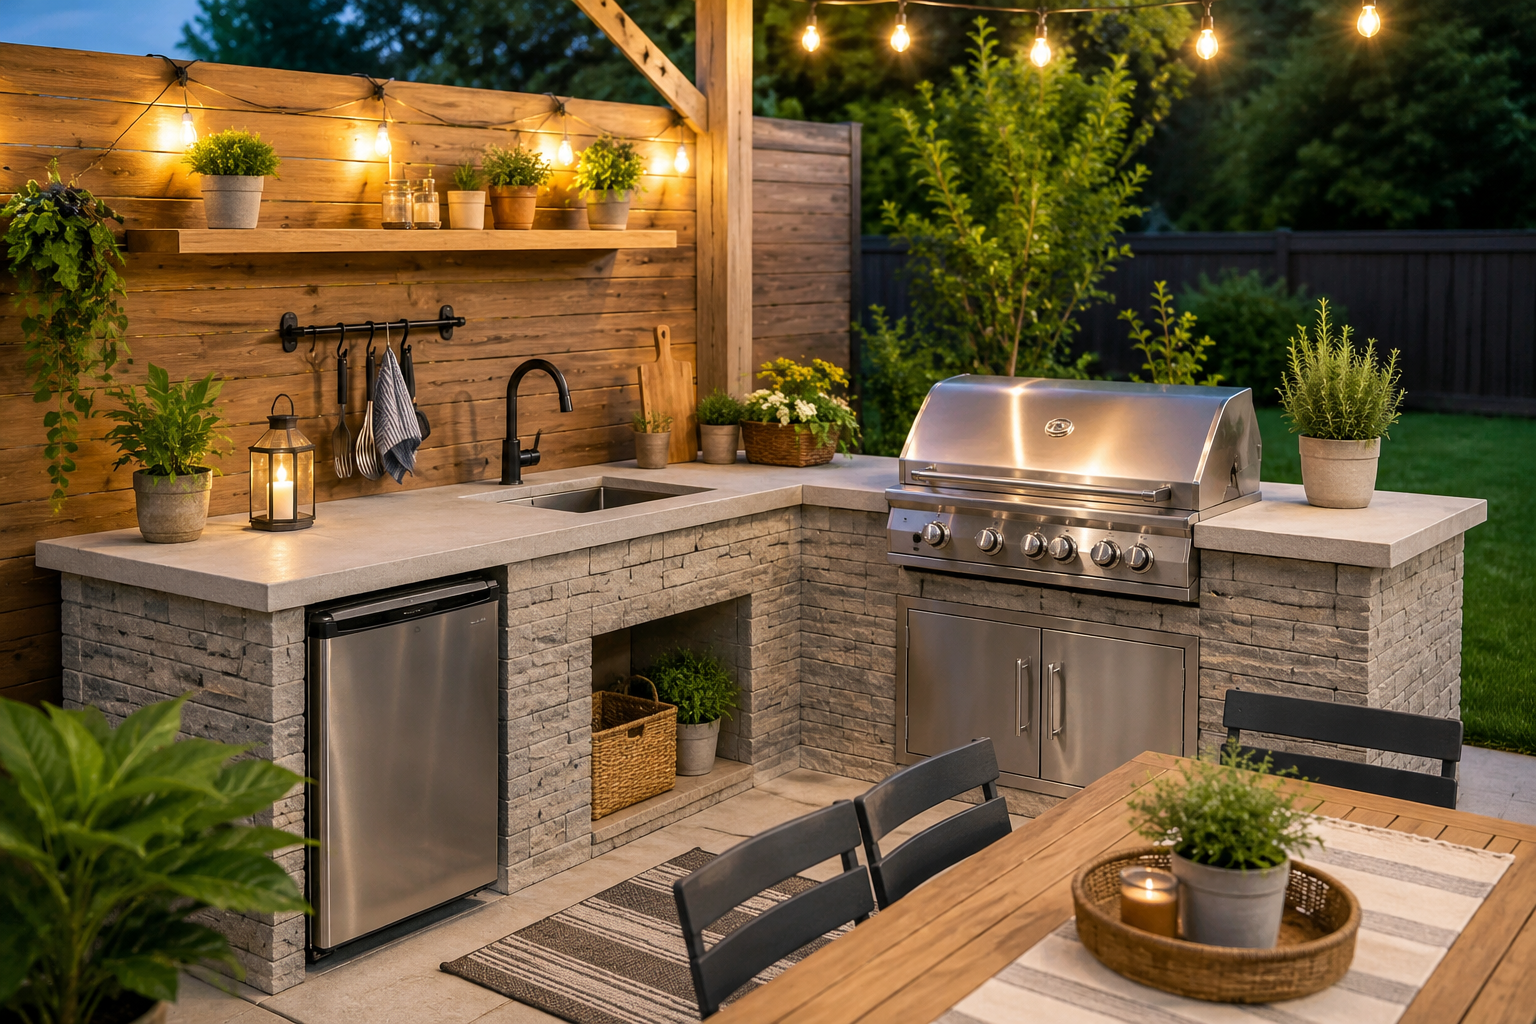
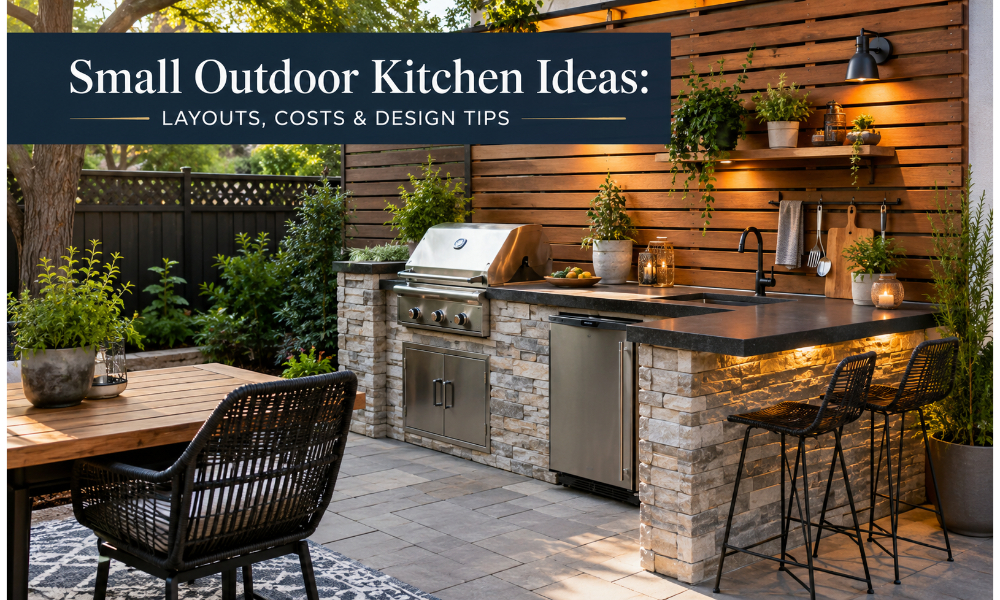
What you get: One run of weatherproof cabinetry (single-line or L-shaped) with a built-in 30–36 inch grill, a section of countertop, and enclosed storage underneath. No plumbing changes. Best for: Homeowners with a defined patio or deck corner, typically 6–10 linear feet of usable wall or railing space. Watch out for: Countertop material is where costs swing the most in this tier — porcelain tile and concrete land at the lower end, natural stone slabs push you toward the top.
Tier 3: $6,000+ — The Full Small-Footprint Build
What you get: Custom cabinetry, a gas line run to the grill instead of propane tanks, layered lighting, and often a shade structure like a pergola or fixed awning. Best for: Anyone treating the space as a permanent extension of the home, not a seasonal setup. Watch out for: The gas line and any electrical trenching are usually the line items that blow past the original estimate — get that priced separately before you commit to the rest of the build.
Matching Layout to Yard Shape
| A single long wall or fence line | Single-line galley | No corners to design around; grill and prep space run in one straight line |
| An actual corner (patio meets house, or two fences meet) | L-shaped | Uses the corner as a windbreak and separates cooking from prep naturally |
| An open area with no adjacent wall | Peninsula off an existing structure | Anchors the kitchen to something solid while still allowing stool seating on the open side |
| No permanent structure at all, or a rental | Portable modular cart setup | Nothing fixed in place; can move with you |
Five Ideas Most Small-Kitchen Guides Skip
A fold-down counter extension.
A hinged, wall-mounted leaf that folds flat against the house when not in use adds several square feet of prep space on demand without permanently eating into a narrow patio.
A pull-out trash and recycling drawer.
In a small footprint, a freestanding bin is one of the first things to get kicked over or left in the way. Building one drawer for this into even a modest cabinet run solves a problem most small builds ignore until after they’re finished.
A vertical herb rack near the prep zone.
A tiered planter or wall-mounted rack for herbs used in grilling — rosemary, thyme, basil — puts something functional in space that would otherwise sit empty above the counter.
A misting fan or shade sail instead of a full pergola.
If a permanent structure isn’t in the budget, a retractable shade sail or a single misting fan attachment addresses sun and heat for a fraction of the cost.
A single griddle insert instead of a second full appliance.
Rather than adding a side burner and a pizza oven, a flat-top griddle insert that swaps onto an existing grill covers breakfast foods, smash burgers, and vegetables without adding a second footprint.
Materials Cheat Sheet
| Porcelain tile | Excellent | Countertops, flooring | Low–mid |
| Poured concrete | Excellent | Countertops, flooring | Low–mid |
| Natural stone (granite, quartzite) | Excellent | Countertops | Mid–high |
| Marine-grade polymer | Excellent | Cabinetry | Mid |
| Stainless steel | Excellent | Cabinetry, appliance surrounds | Mid–high |
| Standard laminate | Poor — warps | Not recommended outdoors | N/A |
| Untreated wood | Poor unless sealed yearly | Occasional accent only | Low |
Frequently Asked Questions
Is a griddle insert or a separate side burner the better use of limited space?
A griddle insert wins for most small builds since it uses your existing grill’s footprint. A dedicated side burner is worth the extra space only if you regularly cook sauces or sides that need a pot rather than a flat surface.
Does a small outdoor kitchen add resale value to a house?
A semi-built or fully built layout (Tier 2 or 3) is more likely to be viewed as a permanent home feature by future buyers, while a portable cart setup is typically seen as personal property that leaves with you. If resale value matters, weigher-duty cabinetry and a built-in grill tend to hold value better than freestanding pieces.
How do I keep a small footprint from feeling like a single narrow countertop?
Break the sightline with one vertical element — a herb rack, a slatted privacy screen, or hanging pendant lighting — so the eye has something to focus on besides a flat strip of counter.
What’s the biggest mistake people make when building on a tight budget?
Spending the entire budget on the grill itself and having nothing left for prep space or storage. A mid-range grill paired with a proper prep counter and a place to put dishes down functions better day to day than a high-end grill with nowhere to set anything.
Can I upgrade from Tier 1 to Tier 2 later without starting over?
Yes, if you plan for it upfront. Choose a modular cart system with dimensions that could later sit flush against a future built-in run, and keep the grill itself separate from the cart if possible — many built-in cabinet systems are designed to accept a standalone grill head later on.